OvaLight
An introduction to programming; an exploration in nostalgia.

This project was for an introductory programming class, where we were tasked with creating an interactive object using only binary circuitry gates. With loose instruction for the physical appearance of the final product, I began to iterate with the goal of blending contemporary lighting with retro household product design.
Conceptualization
The first step was coming up with a form and interface that mimics that of old products. I found that old school radios have a distinct and identifiable appearance: simple rectangular forms and front facing componentry. Dials and pushbuttons were consistent across products, so I gathered a selection of buttons, knobs, and sliders that shared a simple geometric aesthetic.
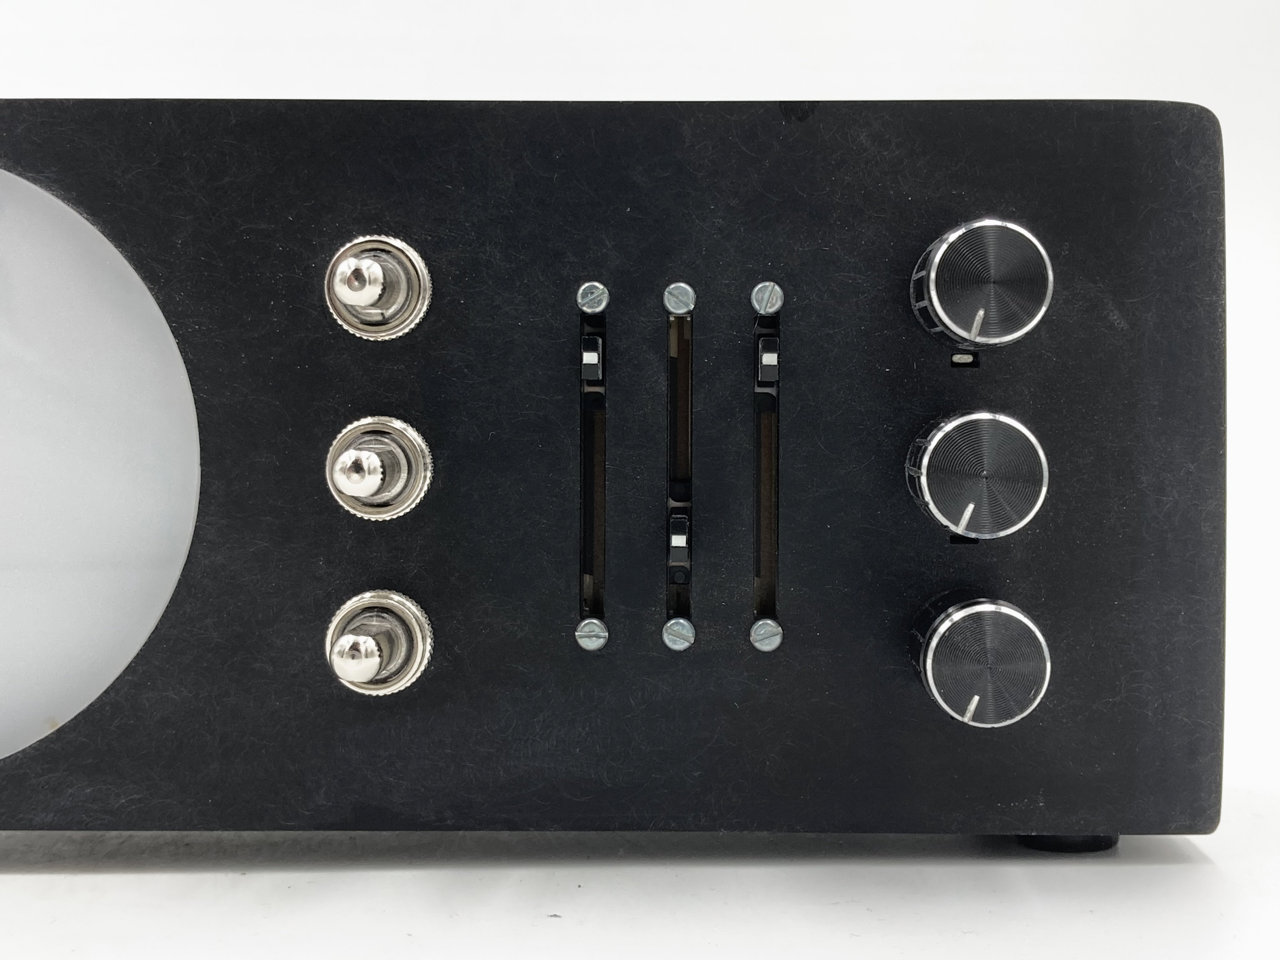
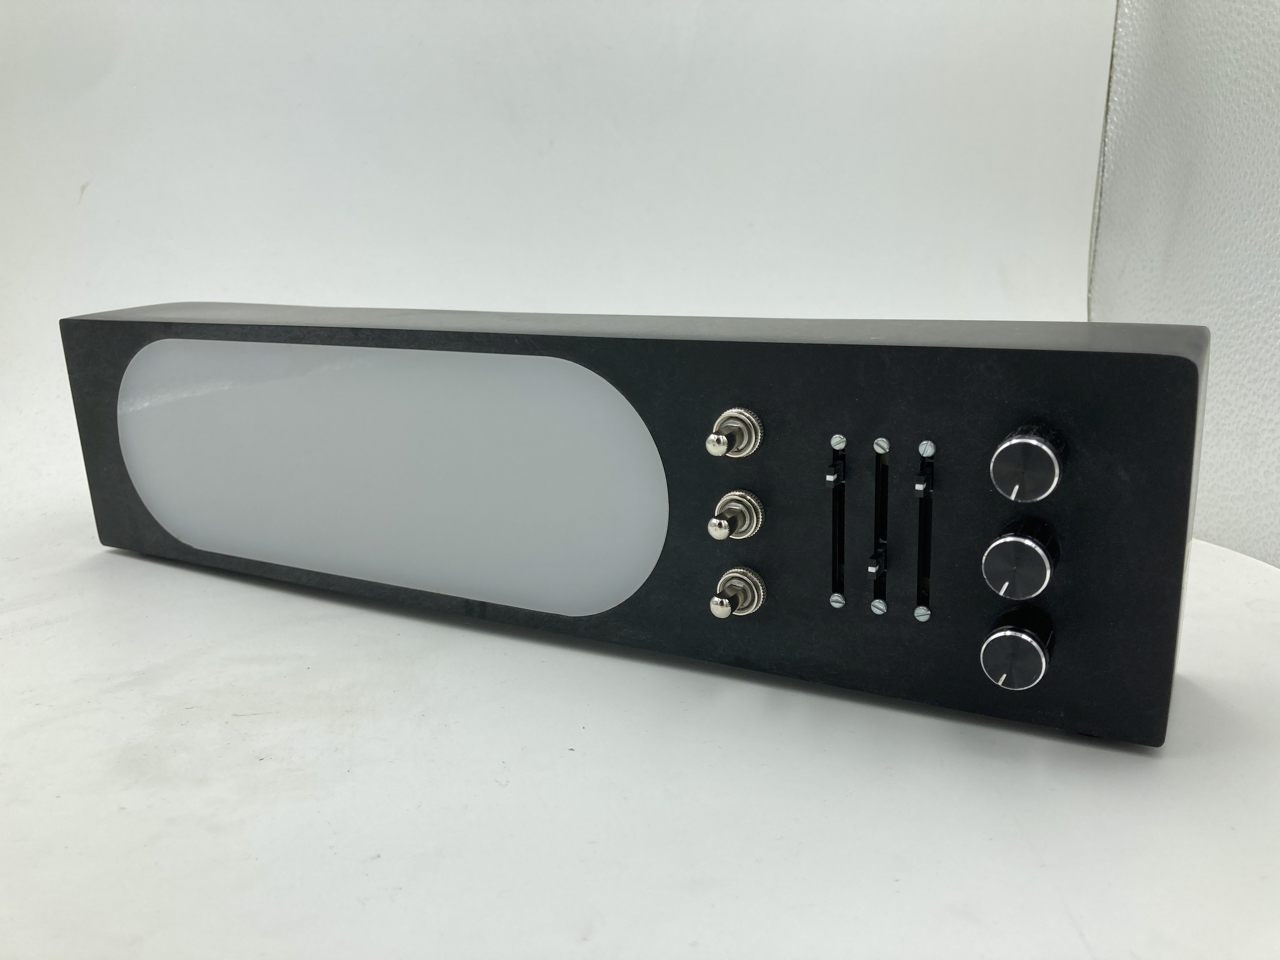
Simple, organized components control an LED strip. Pushbuttons on the left control red, green, and blue lights (top to bottom). Sliders in the middle control brightness (RGB left to right). The dials on the right have the same effect as the sliders, but I wanted to incorporate all three interactions – buttons, sliders, and dials – to give the experience more sophistication.
Fabrication
The next challenge was fabricating the housing for the componentry. The exterior is made of glossy black acrylic, so cutting the pieces required a laser cutter. Leaving room for wires, an Arduino, and an LED strip, I move to Adobe Illustrator to dimension a simple rectangular prism. I measured the mounts for the controls and created a vector file for the laser cutter.
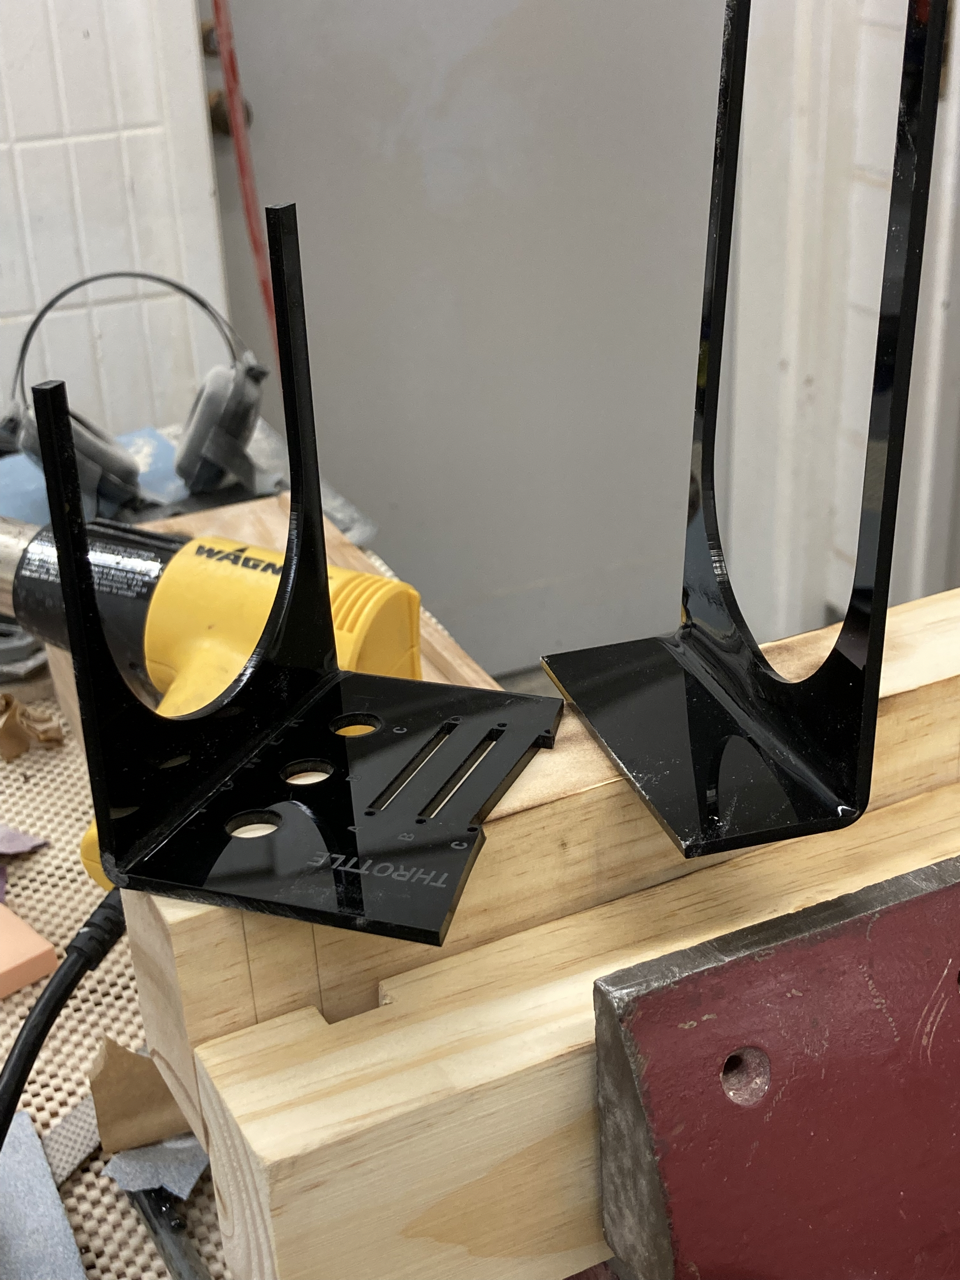
While making measurements, I considered making 6 rectangles for each side of the box, but I wanted to replicate the rounded edges that I saw in old products during the form exploration phase. I decided to heat bend the acrylic with a small fillet instead of just joining two edges. Shown above are two scrapped pieces of acrylic that I used to experiment with heat bending. I placed one end into a vice with two pieces of wood holding the acrylic on the same plane on both sides to achieve a more precise crease. I heated it at the crease point until it was maleable, then used another piece of wood and my weight to press the acrylic into shape.
As I was handling the acrylic, I found myself constantly wiping off fingerprints to preserve the glossy effect. I noticed that the reflections and highlights that the gloss created also distracted from the rest of the elements, and I began to experiment with a circular sander. The scrap below is untouched on the top face, but sanded with a fine grit on the bottom face.

I actually liked the subtle imperfections and textural variation that resulted from sanding. Satisfied with the results, I moved onto mounting and wiring components.
Circuitry and Assembly
I wired the arduino up to a breadboard and connected it to all the components and LEDs. You can notice the reflections in the gloss that I ended up sanding away before final assembly.
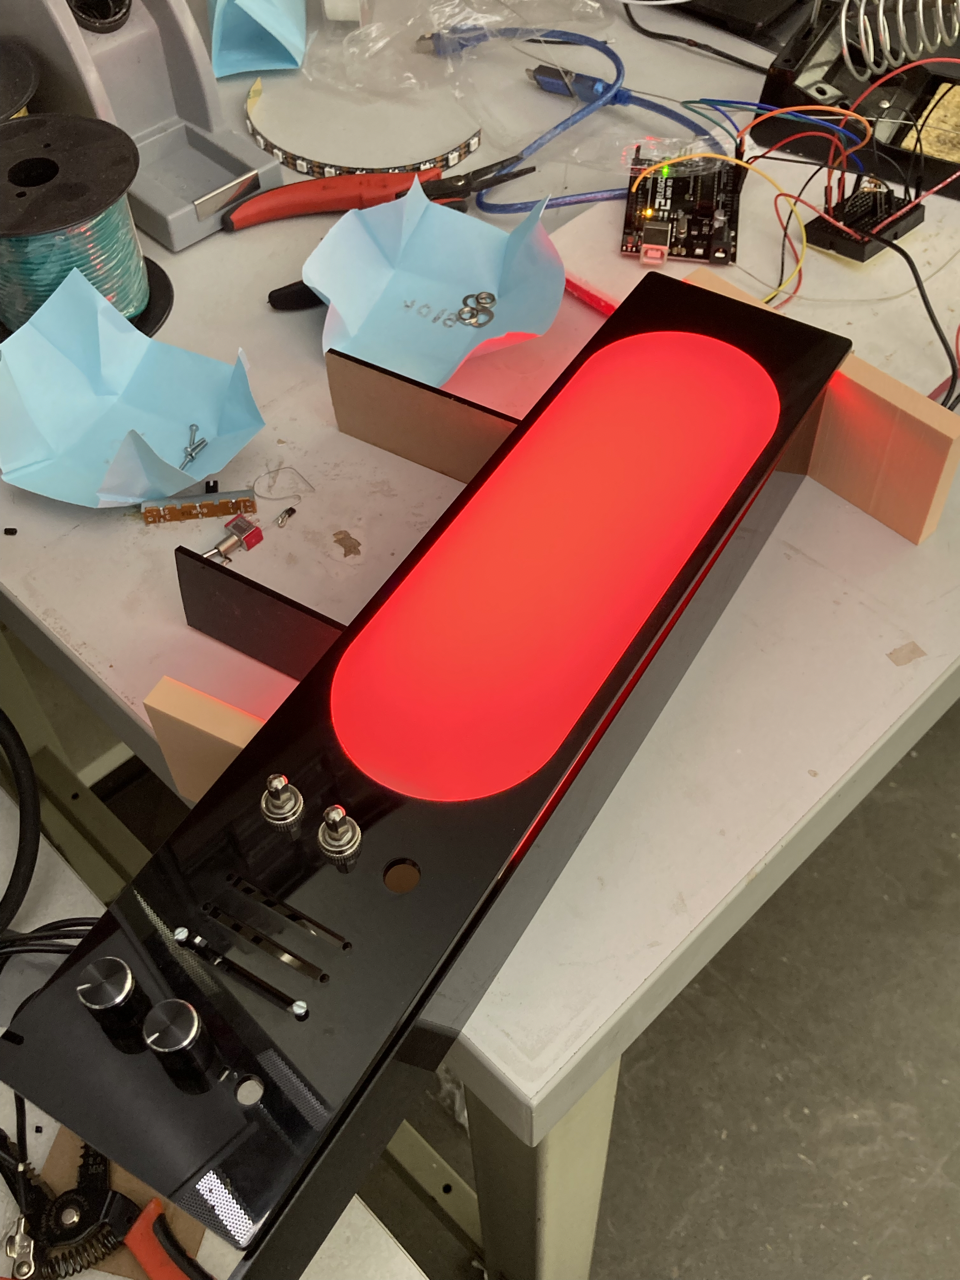
Above left: unsanded acrylic, components assembled with a breadboard.
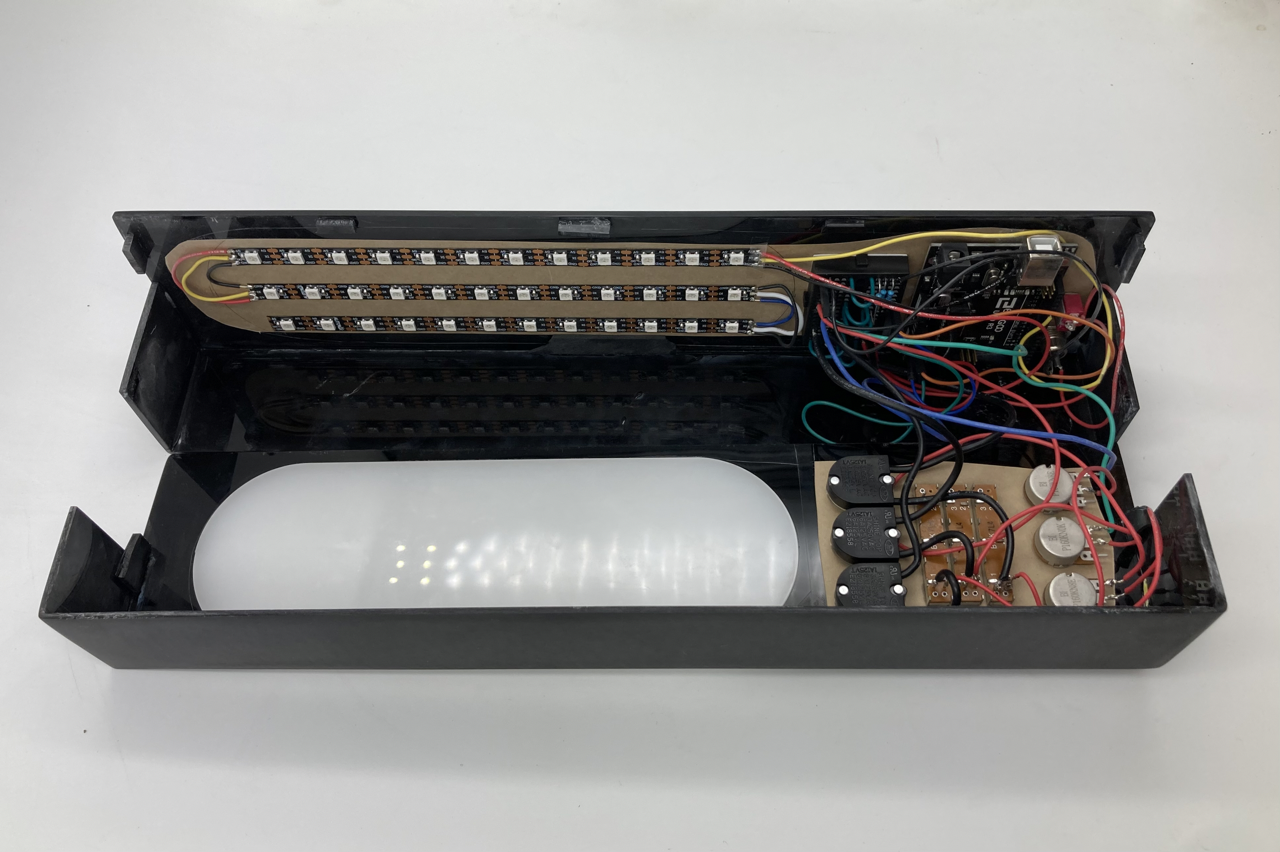
Above right: final assembly with circuitry exposed. Due to my novice wiring skills, I made the housing openable in the event that something stopped working.
Below: sanded acrylic, components removed.

Final Product


Soldering & Circuitry • Programming • Prototyping
Acrylic • Componentry
Arduino • Heat Gun • Circular Sander
Acrylic • Componentry
Arduino • Heat Gun • Circular Sander